I got my first MacBook (MacBookPro 16,3) from Facebook Marketplace for ₱20,000 (around $339.17). This is my first time owning a MacBook, but I’m not entirely new to the Apple ecosystem—I’ve experimented with Hackintosh before.
That said, I’m still very much a Windows user. A lot of the apps I rely on aren’t fully compatible with macOS, so my only real option was to use Boot Camp. Unfortunately, when I tried installing Windows 11 directly using a Windows 11 ISO, I kept running into errors.
It was frustrating, so I settled for installing Windows 10 first. But since I really needed Windows 11, I looked for a workaround—and thankfully, I found one.
Prerequisites
-
Windows 10 ISO
https://www.microsoft.com/en-us/software-download/windows10ISO
-
Windows 11 ISO
Installation Guide
1. Install Windows 10 using Boot Camp
Download the Windows 10 ISO from the official Microsoft website and install it using Boot Camp Assistant on macOS.
If you’re only seeing the Media Creation Tool instead of the ISO:
- Press F12 to open Developer Tools
- Click Toggle Device Toolbar (mobile view)
- Refresh the page
- You should now be able to download the ISO directly
2. Follow the Boot Camp instructions
Boot Camp Assistant will guide you through the setup and automatically install Windows 10.
Make sure you select Windows 10 when prompted.
3. Complete the Windows 10 setup
Proceed like a normal Windows installation:
- Choose your region and keyboard
- Sign in or create an account
- Expect a few restarts during setup
4. Install Boot Camp drivers on Windows 10
Once Windows 10 is fully installed, install Boot Camp Assistant on Windows.
This ensures all Apple-specific drivers (keyboard, trackpad, audio, etc.) work properly.
Updating Windows 10 at this stage is optional.
5. Download and mount the Windows 11 ISO
Download the Windows 11 ISO and mount it.
Once mounted, it will appear as a drive under This PC (e.g., E:).
6. Open Command Prompt as Administrator
- Press Win + R
- Type
cmd - Hold Ctrl + Shift, then press Enter to run as administrator
Navigate to the mounted ISO drive by typing, for example:
E:7. Upgrade to Windows 11
Run the following command:
setup.exe /product serverIt looks confusing at first (and yes, I was confused too), but no—you’re not installing Windows Server. This simply bypasses the hardware checks and installs Windows 11 Pro.
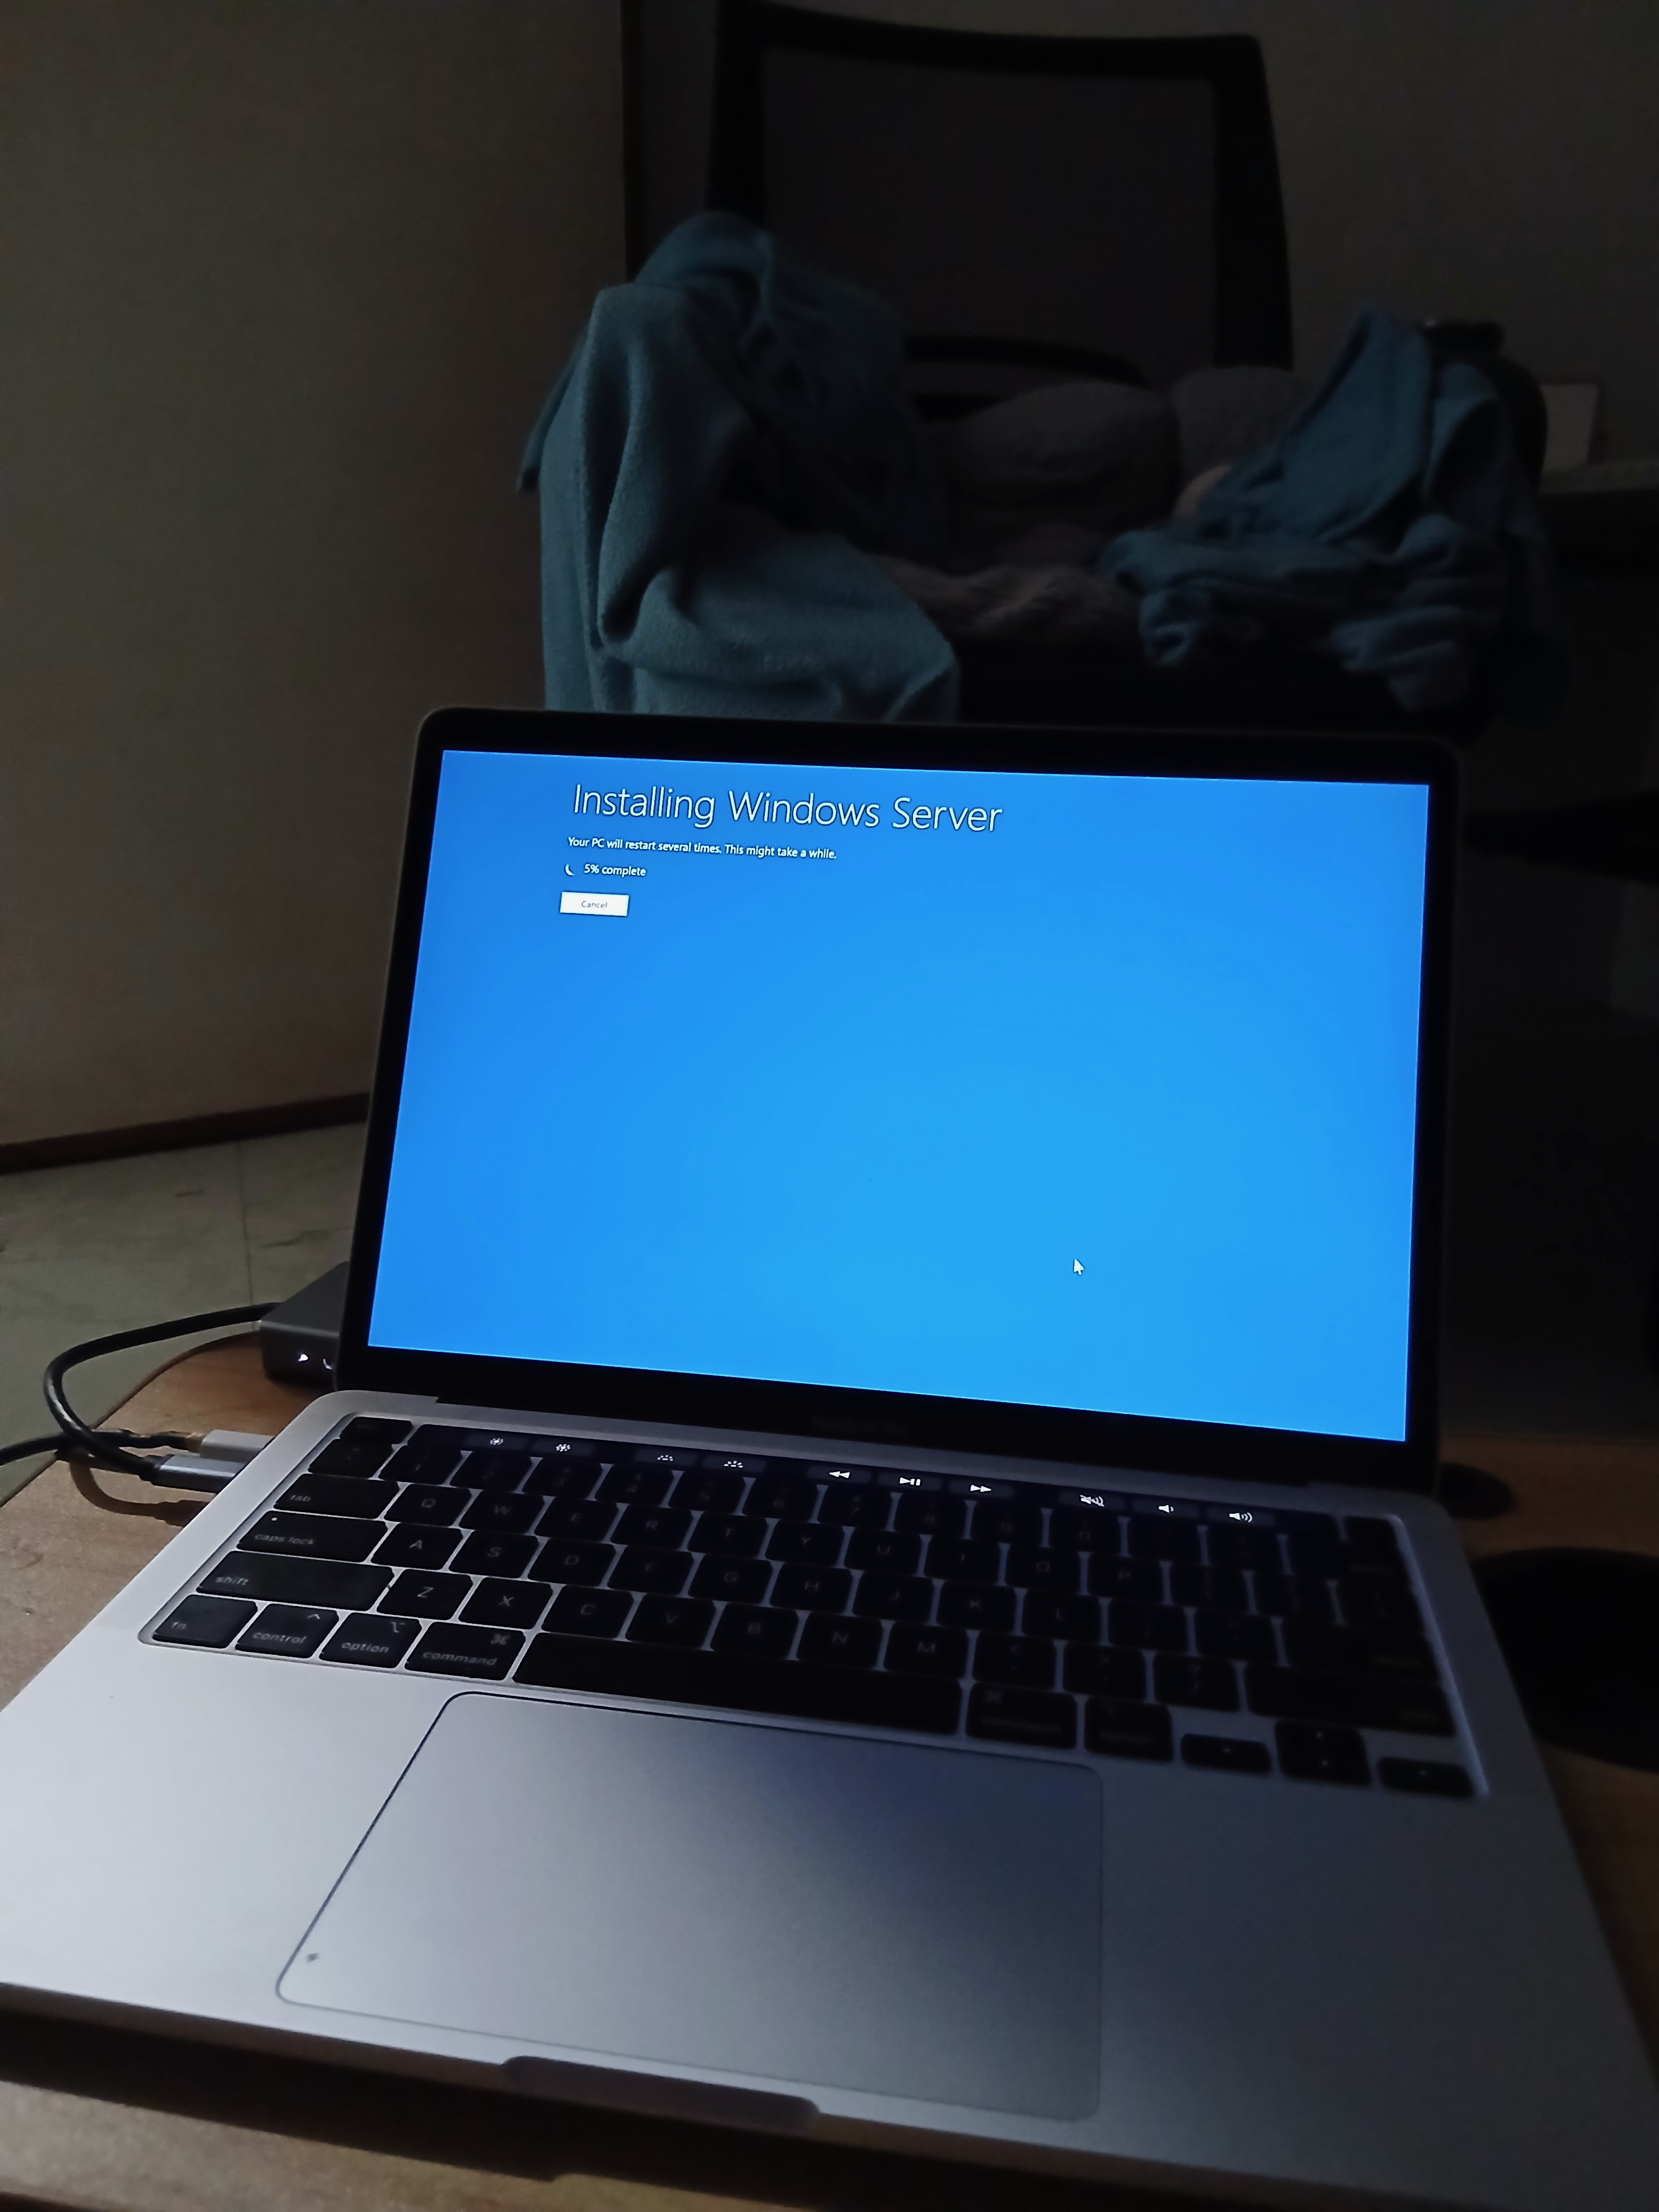
Follow the on-screen instructions. Your MacBook will reboot automatically once the upgrade is complete.
⚠️ Important reminders:
- Do not force restart
- Make sure your MacBook is plugged in
- Installation time may vary depending on your hardware
Once done—congrats! You’re now on Windows 11 🎉
Post-Installation (Important)
8. Reinstall Boot Camp drivers
Some drivers may break after upgrading.
- Open Disk Management
- Assign a drive letter to the OSXRESERVED (10GB) partition
- Open that partition and locate the BootCamp folder
- Copy the BootCamp folder and the related Windows dependency folder (you’ll recognize it)
- Run
setup.exeinside the BootCamp folder
This will reinstall the necessary drivers.
9. Update Windows
Go to Settings → Windows Update and install all available updates.
This may take some time depending on your internet speed and hardware.
And that’s it.
Enjoy running Windows 11 on your MacBook via Boot Camp! 👌
If you encounter any issues please feel free to leave a comment in reddit post: